Hi everyone,
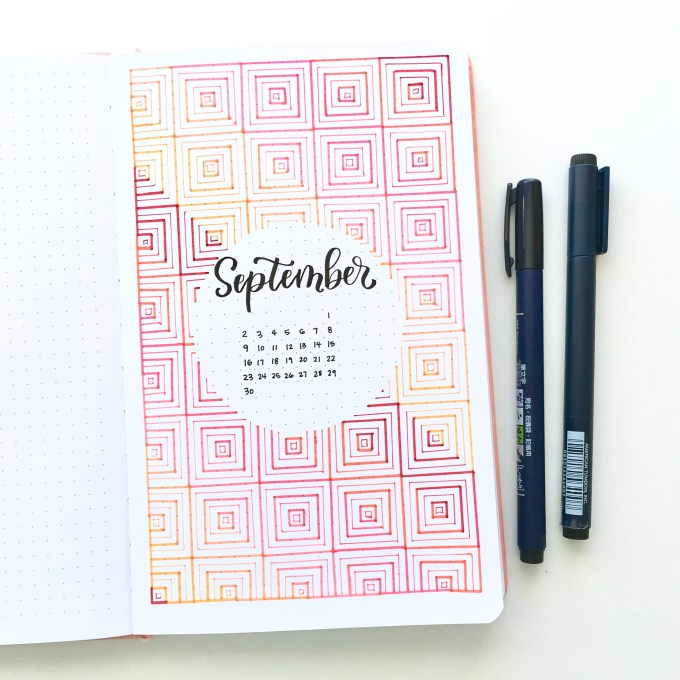
Recently I’ve been loving creating fun pages in my dot grid journal! Typically I gravitate towards geometric designs because they are so fun to create! I decided I wanted to add in a calendar for September, and since it’s turning to fall I used fall colors.
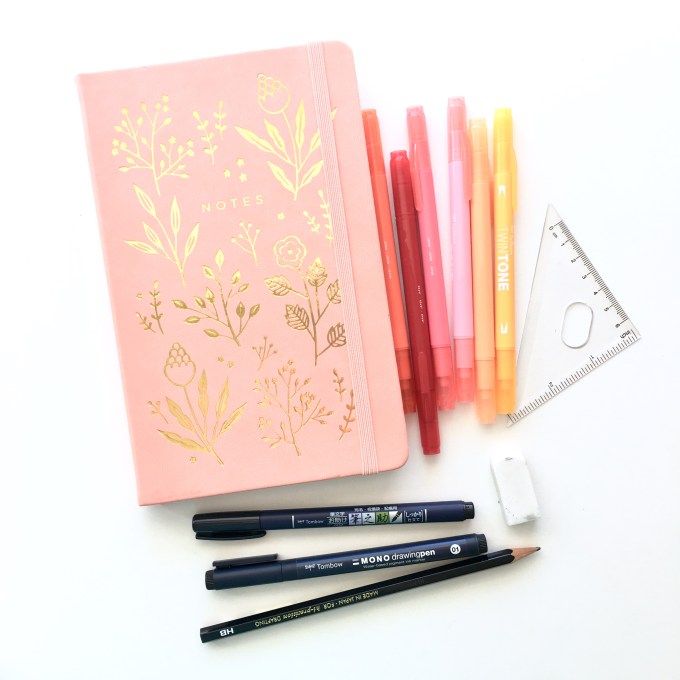
Materials you’ll need:
- Bullet Journal (I’m using mine from @archerandolive)
- Pencil
- Eraser
- Ruler
- Round circle/lid to trace around
- Tombow TwinTone Markers (I used “Fall” 6 colors)
- Tombow Fudenosuke Hard Tip Brush Pen
- Tombow Mono Drawing Pen 01
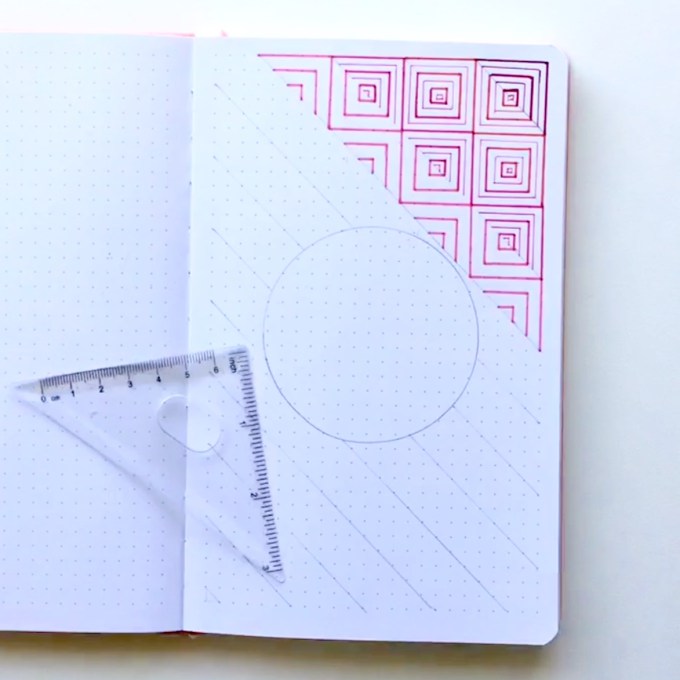
Step 1
Using your pencil and round object, create a circle in the middle of your page. Then grab your ruler and sketch out a guide for your geometric pattern. Start in the upper right hand corner and create your guide going down and to the left. I make my squares 5×5 dots. With each row, I’ll draw in the diagonal line connecting the two sides. Trust me, you’ll be glad you have this guide later!

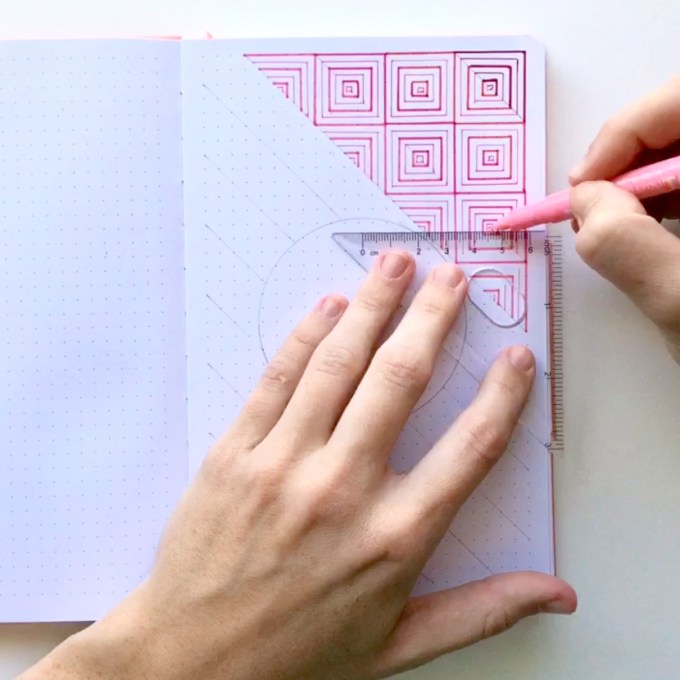
Step 2
Figure out the order of your colors you want to use. I wanted to make this page “Fall” inspired. I don’t like brown, so this is as “fall” as it get’s for me! With the larger tip side of your maker, draw the top of your triangle using your ruler. Then draw the two triangles underneath. You’re only going to take the lines up to the guidelines, don’t go past! This pattern is all about making right angles, and they will all connect to make a neat pattern!
Step 3
Then use the smaller tip of the marker to draw in the three thinner lines. These will go in-between the larger lines. Again, only draw these triangle lines up to the guidelines! I’ve found that sometimes the ruler will smudge the lines, so I found that only drawing the vertical lines, going right to left and then horizontal lines, top to bottom, helps minimize the smudging. It does take a bit more concentration, so you can just wait a few second after drawing lines to make sure they’re dry before going over them with the ruler again.
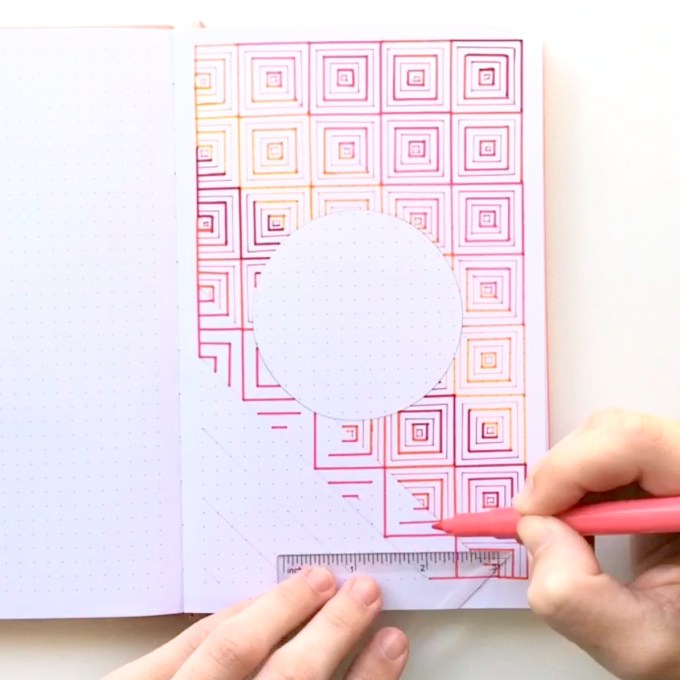
Step 4
Keep going row by row, all the way down the page, varying your colors. Make sure not to go into the circle area. This can be tricky! I’ve found that if I’m not sure where a line goes next, skip it and come back to it! And if you do make a mistake, don’t worry–that’s what white-out is for!
Step 5
Now it’s time to add in the calendar! Write in the name of the month in the top of your circle space with the Fudenosuke Hard Tip Brush Pen. Then use the Mono Drawing Pen in 01 to write in the dates of the month below.

Step 6
Erase any extra pencil lines, and you’re done! Isn’t it so satisfying to step back and see the finished page??
Thanks for visiting today, I hope you found some inspiration! For more bujo inspiration like this, make sure to follow me on Instagram! And if you re-create this geometric calendar page, tag me so I can see it!
xoxo
Adrienne @studio80design
