Hi everyone, today I wanted to share a fun process for creating ombre brush lettering with colored pencils! I’ll be creating my letters that I will then color in with colored pencils.
Materials you will need:
- Scratch Paper
- Mixed Media Paper (I used Strathmore Mixed Media 300 Series)
- Pencil
- Eraser
- Tombow Black Dual Brush Pen
- Tracing Paper
- Cricut Bright Pad or a window with light
- Tombow 1500 Colored Pencil Palette
Step 1
Sketch out your phrase on your scratch paper. Play around with the composition and get all the words and letters just where you want them. This may take several drafts to get everything right, that’s why I love using just regular notebook paper!

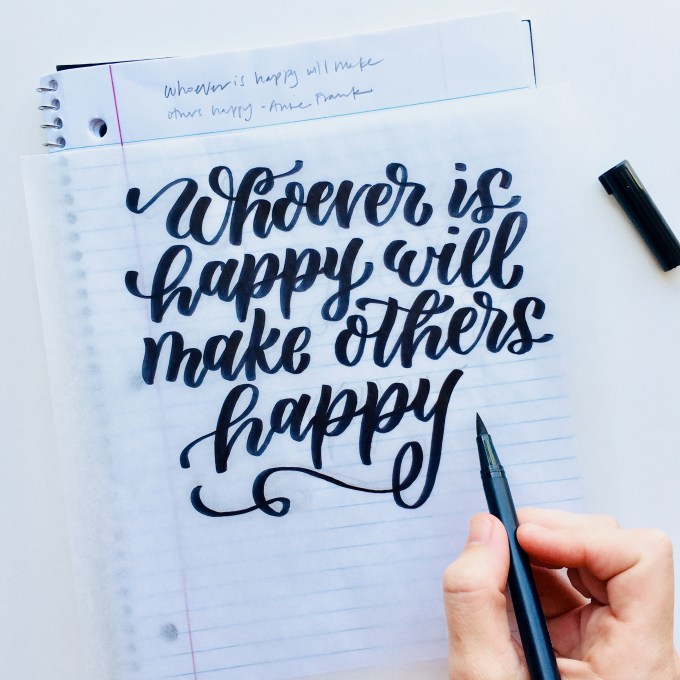
Step 2
Place a piece of tracing paper over the top and use your Tombow Dual Brush Pen to write out your phrase. The Dual Brush Pen will create larger letters than your pencil, so give yourself enough room. If your words are getting squished, just make sure you’re moving your tracing paper over while you letter.
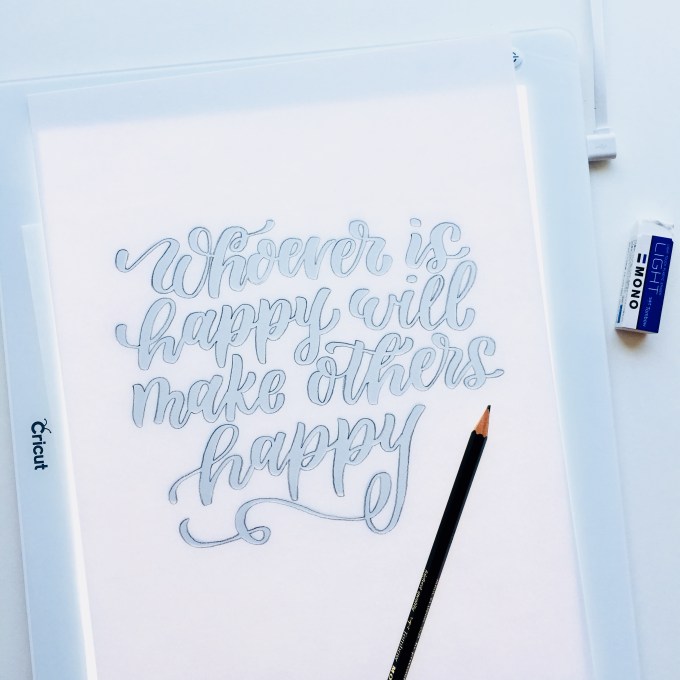
Step 3
Put your tracing paper under your mixed media paper and place on your bright pad (or you can tape it to a window with light shining through). Use your pencil to lightly outline all your letters. I love using this process to get outlined brush letters! There are so many fun things you can do with outlined letters!
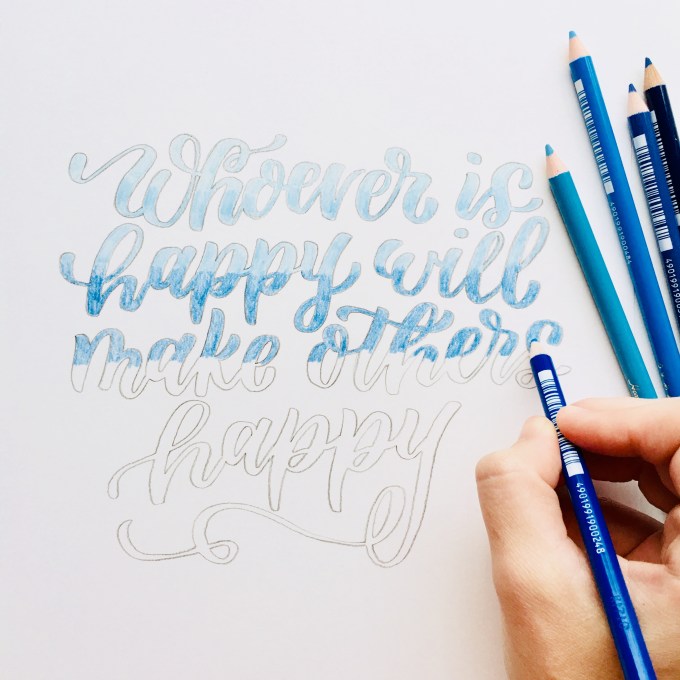
Step 4
It’s time to start coloring! Pick out the colors from the Tombow 1500 Colored Pencil palette. There are 36 colors in this palette, so there are a lot to choose from! I used 5 blue shades from the palette. Here’s a tip: when doing ombre lettering, pick one more pencil than you have lines. Here I have four lines of letters, so I will pick five colors to work with.
Once you have all your colors, lightly shade in your letters. I went one line at a time. Imagine your line of letters has a line going through the middle. I used my lightest shade of blue to color in the top half. Then I used a slightly darker shade of blue for the bottom half.
Step 5
Keep moving down to the next line of letters. I used the second colored pencil from the first line to color in the top half of my second line. Here’s how the pattern will go: 1-2; 2-3, 3-4, 4-5. This will give your piece an ombre-looking effect.

Step 6
Go back in with your colored pencils and shade in your letters darker. While your shading, blend the two colors together by adding the colors slightly on top of each other until there is a nice gradient.

Step 7
I used a silver colored pencil to outline all the letters to bring it all together! You could also outline them with a black colored pencil or a black marker to make them pop!
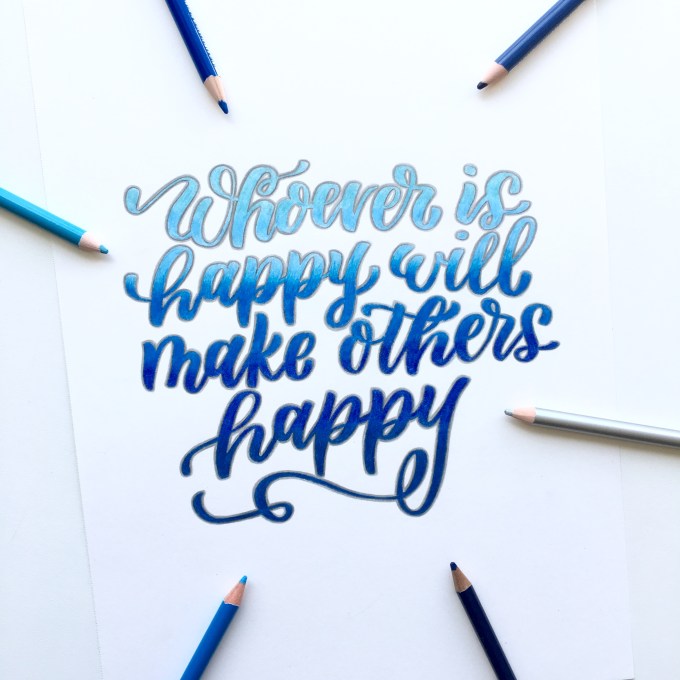
That’s it! I love how the ombre gradient turned out! Blue is my favorite color, so pick a color you love and get shading! Hope you found this helpful!
xoxo Adrienne, @studio80design
